CHAPTER 1 How to look at a chest X-ray
1.1 Basic interpretation is easy
2. If you are using a picture-archiving system, see whether previous X-rays are on the system for comparison. The patient may have had previous X-rays which are stored on film. If you cannot access previous films, look for old radiology reports, which may be helpful.
4. Scan the film thoroughly and mentally list any abnormalities you find. Always complete this stage. The temptation is to stop when you find the first abnormality but, if you do this you may get so engrossed in determining what it is that you will forget to look at the rest of the film. Chapter 1.3 explains how to scan a film.
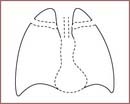
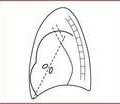
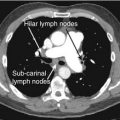
5. When you have found the abnormalities, work out where they are. Decide whether the lesion is in the chest wall, pleura, within the lung or mediastinum. Chapter 2 explains how to localize lesions within the lung and the heart, Chapter 8 the mediastinum and Chapter 9 the ribs.
6. Mentally describe the abnormality. Which category does it fall into:
Chapters 4 and Chapter 9 will take you through how to interpret your findings.
7. Always ensure that the film is reported on by a radiologist. Basic interpretation of the chest X-ray is easy, but more subtle signs require the trained eye of a radiologist. Seeking a radiologist’s opinion can often expedite a diagnosis or the radiologist may suggest further imaging.
1.2 Technical quality
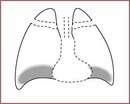
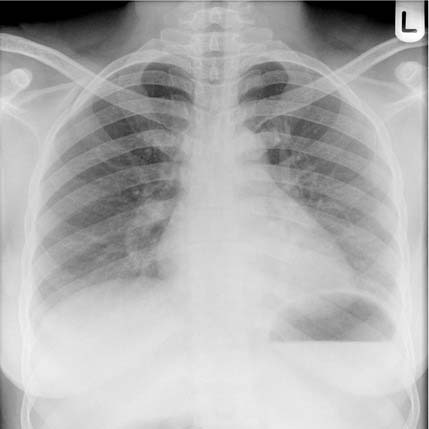
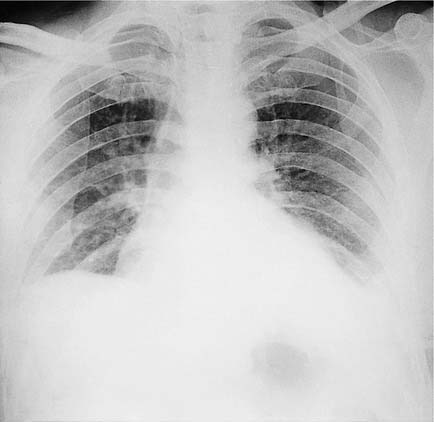
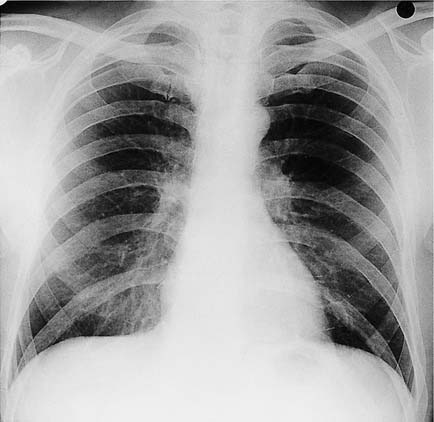
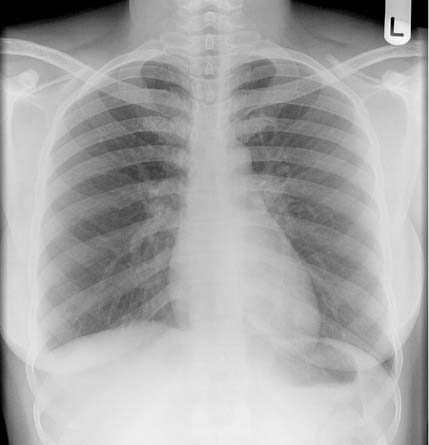
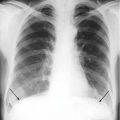
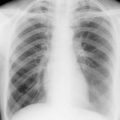
Films on pages 6 and 7 show the effects of respiration. The above film is taken with a poor inspiration, and page 7 with a good inspiration. Note how the lung bases look whiter, and the heart size appears larger.
Always check the technical quality of any film before interpreting it further. To do this you need to examine in turn the projection, orientation, rotation, penetration and degree of inspiration. Problems with any of these can make interpretation difficult and unless you check the technical quality carefully you may misinterpret the film.
Stay updated, free articles. Join our Telegram channel

Full access? Get Clinical Tree


