Chapter 17 Use of the Cropping Tool to Show Structures of Interest
Aortic Valve Cropping: Transesophageal Imaging
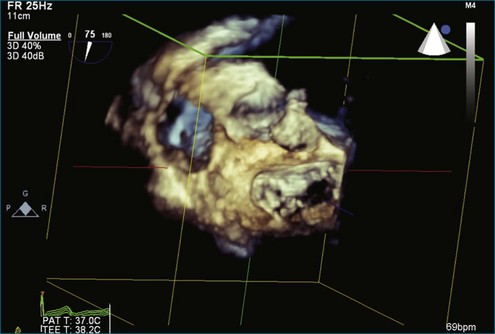
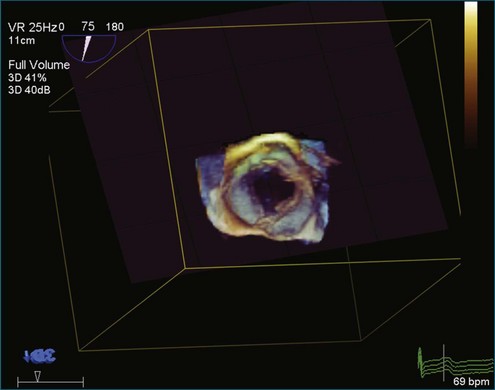
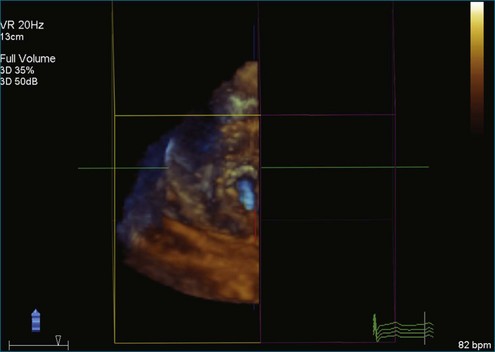
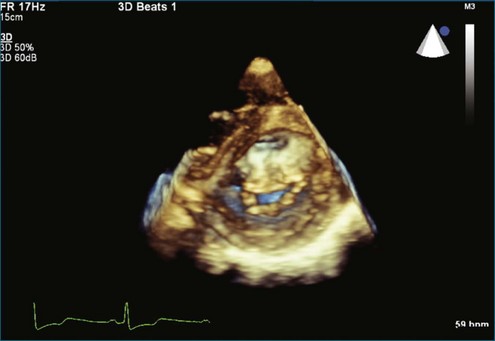
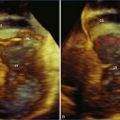
Figure 17-1 (Video 17-1) shows the starting point.
Steps
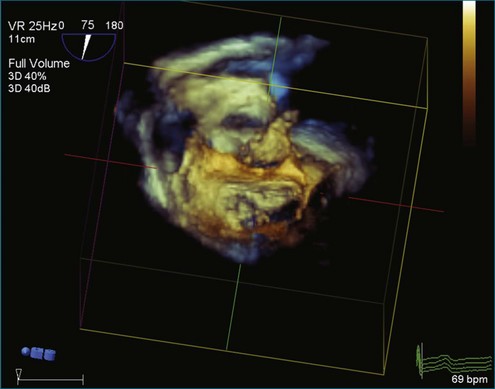
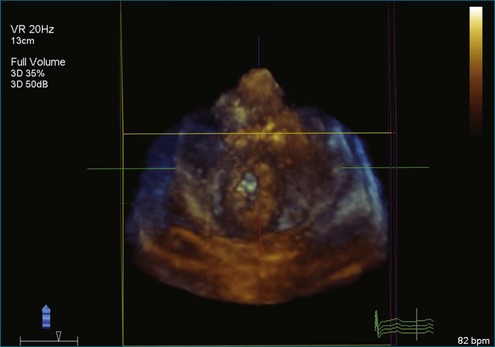
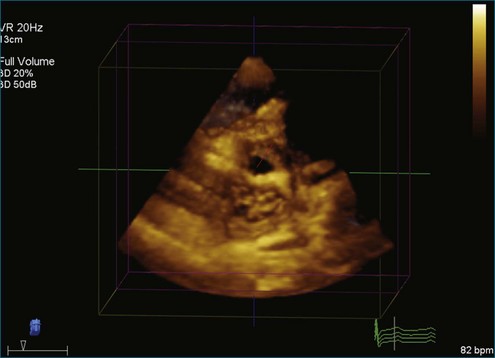
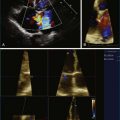
Step 1 (Figure 17-2; Video 17-2): Obtain the full volume of the aortic valve. The initial approach is to image the aortic valve in the standard short-axis transesophageal echocardiography (TEE) view. This view typically has the rotational angle at 30 degrees. In this case, the rotational angle is at 75 degrees. When the aortic valve is well visualized, a full volume is obtained.
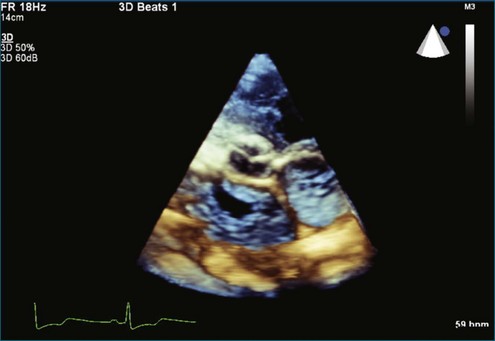
Step 2 (Figure 17-3; Video 17-3): After obtaining the full volume, pull the dataset down toward the user with the track ball or mouse.
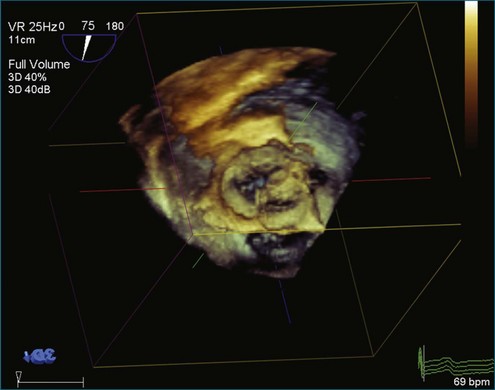
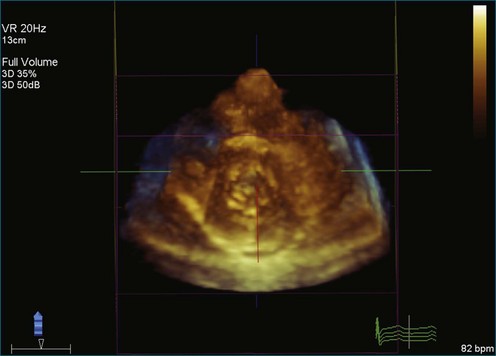
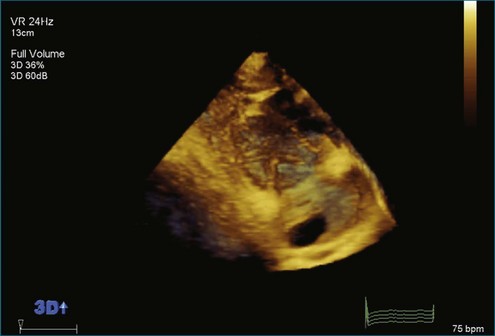
Step 3 (Figure 17-4; Video 17-4): Maximize and minimize all the cut planes (X, Y, and Z) to the annulus of the aortic valve cusps.
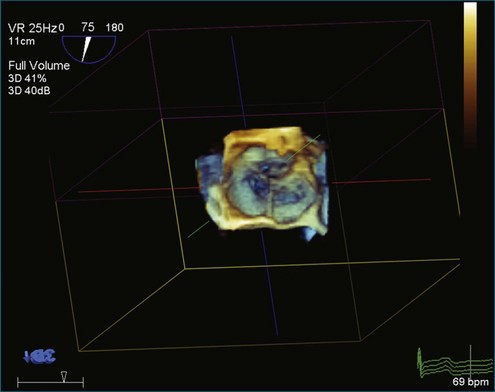
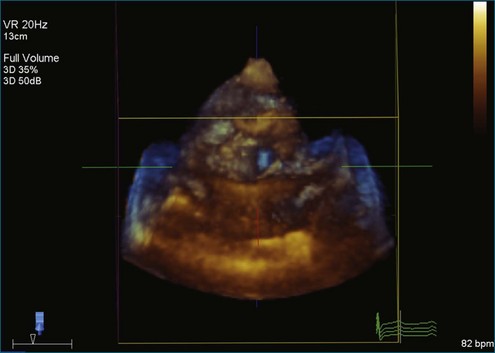
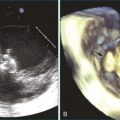
Step 4 (Figure 17-5; Video 17-5): Activate “Any Plane” by clicking on “Crop Adjust Plane.” Position “Any Plane” to the upper right corner of the right coronary cusp annulus and slide the plane adjust bar one third to the left.
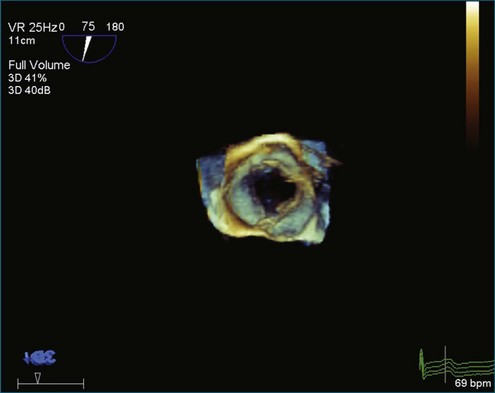
Step 5 (Figure 17-6; Video 17-6): Remove the crop box and “Any Plane” by clicking on the “Crop Adjust Plane” button.
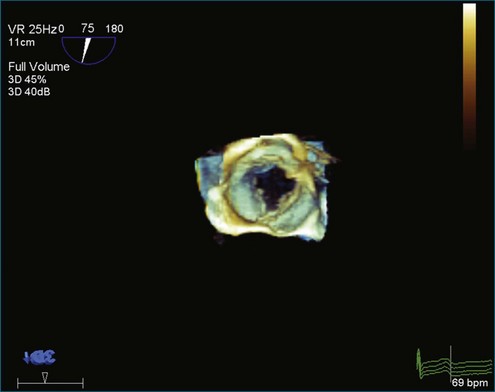
Step 6 (Figure 17-7; Video 17-7): Optimize the image by clicking on the “B/W” tab and sliding the Gain, Brightness, Compression, and Smoothing bars until the desired appearance is achieved.
Mitral Valve: Transthoracic Imaging
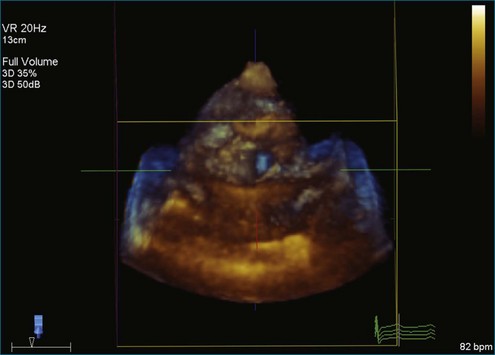
Figure 17-8 (Video 17-8) is a setup view showing parasternal long-axis view of the mitral valve and left atrium.
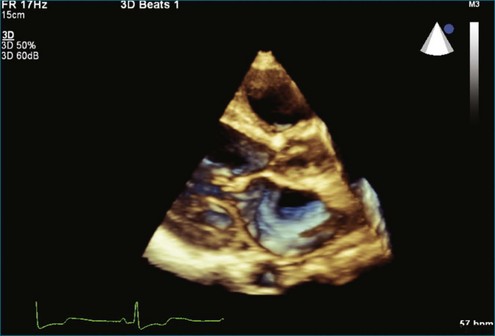
Figure 17-8 Setup view for obtaining full volume of the left ventricle, the left atrium, and the mitral valve.
Steps
Step 1 (Figure 17-9; Video 17-9): Begin with the parasternal long-axis view and obtain a full volume.
Step 2 (Figure 17-10; Video 17-10): Rotate the volume rightward to be en face with the X plane.
Step 3 (Figure 17-11; Video 17-11): Maximize the Z plane to visualize the mitral valve in the short-axis view. That is, when the image initially is called up, it is auto-cropped such that the dataset has the Z plane partially moved in. By maximizing the Z plane, the entire volume is now seen.
Step 4 (Figure 17-12; Video 17-12): Adjust or minimize the X plane to best see the leaflets.
Step 5 (Figure 17-13; Video 17-13): Alternatively, turn the volume from 3 completely around to see the mitral valve from the atrial side, pull the volume up slightly, and adjust “X Max” to best see the leaflets.
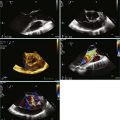
Figures 17-14 to 17-16 (Videos 17-14 to 17-16) show the resulting images of the mitral valve on the left atrial and left ventricular sides of the valve.
