Forearm and Wrist Joint
Anatomy and Techniques
Forearm Anatomy
Flexor Compartment
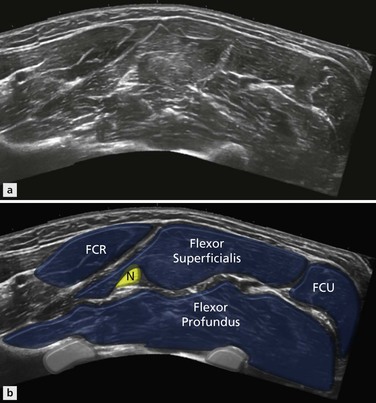
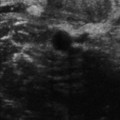
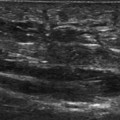
The two main muscles of the flexor compartment are flexor digitorum superficialis (FDS) and flexor digitorum profundus (FDP), which occupy the central part of the compartment and make up most of its bulk. Overlying these are three muscles, flexor carpi ulnaris (FCU), palmaris longus and flexor carpi radialis (FCR) (Fig. 10.1). The final member of the compartment, flexor pollicis longus (FPL), arises from the radius and lies alongside flexor digitorum profundus in the mid- and distal forearm.
Extensor Compartment
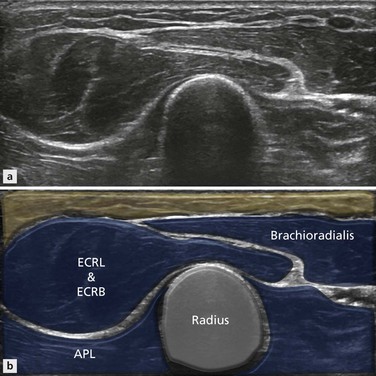
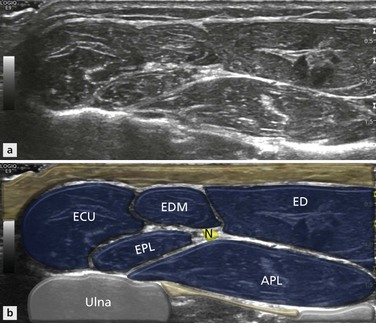
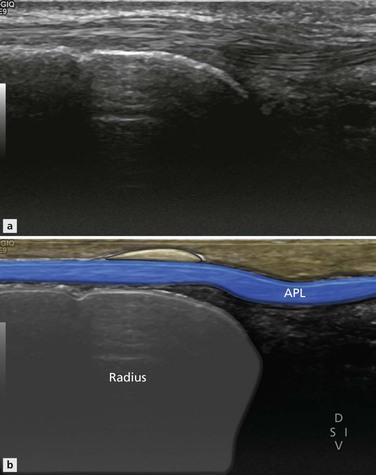
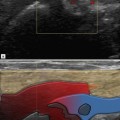
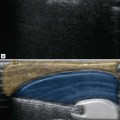
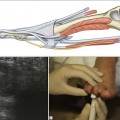
In the extensor compartment, three separate layers are discernible: two posterior (superficial and deep) and one lateral. The muscles in the lateral compartment are brachioradialis, and more distally extensor carpi radialis longus (ECRL) and brevis (ECRB) (Fig. 10.2), whose tendons will ultimately form extensor compartment 2. In the posterior section, the superficial layer contains extensor digitorum (ED), extensor digiti minimi (EDM) and extensor carpi ulnaris (ECU) (extensor compartments 4, 5 and 6) (Fig. 10.3). The deep component contains abductor pollicis longus (APL) on the radial side of extensor pollicis longus (EPL), forming extensor compartments 1 and 3 respectively. More distally, abductor pollicis longus will receive an additional component from extensor pollicis brevis (EPB) to complete compartment 1. In the proximal forearm, the extensor compartments from radial to lateral are therefore 2, 1, 3, 4, 5 and 6. It is clear that 1 and 2 are not optimally arranged and are going to have to cross each other to reach their ultimate destination. The crossover occurs just proximal to the wrist.
Which Nerve Innervates Which Muscle?
Ulnar Nerve
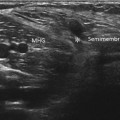
The ulnar nerve innervates the following muscles: flexor carpi ulnaris and flexor digitorum profundus (medial half). Via its deep branch it innervates: hypothenar muscles, opponens digiti minimi (ODM), abductor digiti minimi (ADM), flexor digiti minimi (FDM), third and fourth lumbrical muscles, dorsal interossei (DI), palmar interossei (PI) and adductor pollicis (AP). And via its superficial branch, the ulnar nerve innervates palmaris brevis.
Wrist Anatomy and Techniques
Position 1: Extensor Wrist Radial Side
Technique
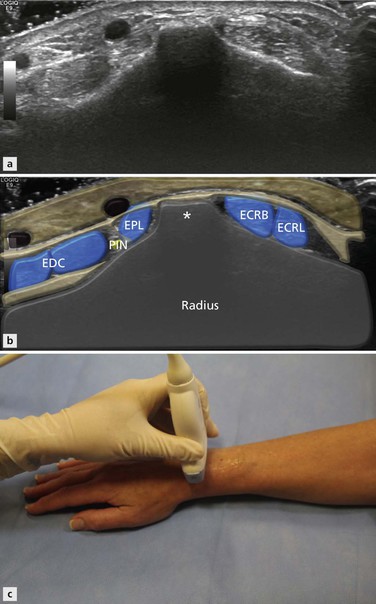
Radial sided wrist pain is common and ultrasound is helpful in detecting many of its causes. These include common conditions like de Quervain’s tenosynovitis and dorsal ganglion cyst. The examination begins with the identification of EC1, EC2 and EC3 (Fig. 10.4). There are two methods used to identify these three compartments. The easiest method, and best for beginners, is to identify a bony prominence on the dorsal aspect of the radius called Lister’s tubercle (Fig. 10.5). With the palm of the hand placed flat on the examination couch, the probe is placed in axial position over the middle of the forearm. The radius and ulnar bony margins are identified and the probe is moved distantly along the dorsal aspect of the radius. Just before the wrist joint is reached, a bony prominence is seen. This is Lister’s tubercle, which separates the second (lateral) from the third (medial) compartments. The second compartment contains two tendons and the third compartment a single tendon. The probe is then moved further to the radial side to locate the first compartment, which also contains two tendons. Note that the probe has to be moved ‘around the corner’ of the posteroradial margin of the radius to find compartment 1 (Fig. 10.6).
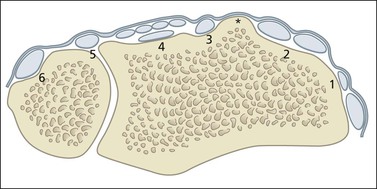
Figure 10.4 Wrist extensor compartments 1–6. The bony prominence of Lister’s tubercle (*) is a useful landmark, as it separates EC2 and EC3. (See text for individual tendon names.)
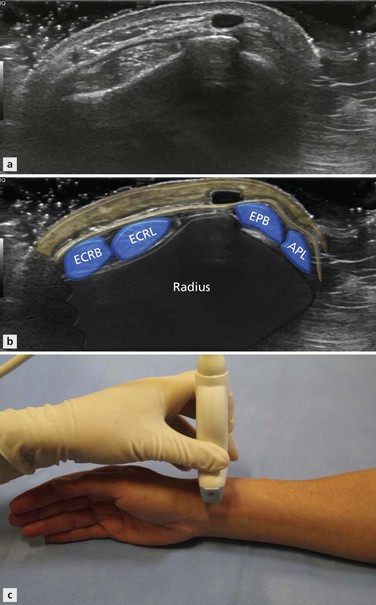
Figure 10.6 Axial anatomy extensor wrist. The first compartment is on the radial aspect of the distal radius, close to EC2.
With practice, the examination can begin directly over the first. The patient places the ulnar border of their hand on the examination couch. EC1 lies along the uppermost border of the radius in this hand position, in a very superficial location. Placing the probe in the axial position at the uppermost part of the wrist will reveal EC1 and its two tendons, the abductor pollicis longus and extensor pollicis brevis. The two tendons are surrounded by a tendon sheath and contained within the extensor retinaculum. The extensor retinaculum is a well-defined fibrous connective tissue structure that bridges all six extensor compartments. It is important to identify the EC1 retinaculum, as thickening may be the first abnormality encountered in patients with sclerosing tenosynovitis. The retinaculum is seen as a very thin hyporeflective line overlying the tendons close to the tip of the radial styloid (Fig. 10.7). It may be better seen by rotating the probe 90° and viewing the tendons in their long axis. If it is difficult to identify, it is unlikely that it is thickened. Close by, the superficial branch of the radial nerve may also be seen passing over the EC1 as it is tracked distally.
Stay updated, free articles. Join our Telegram channel

Full access? Get Clinical Tree


