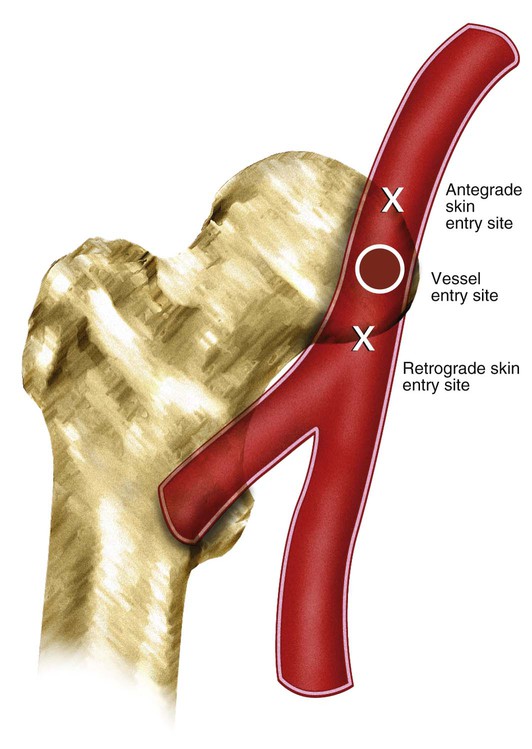
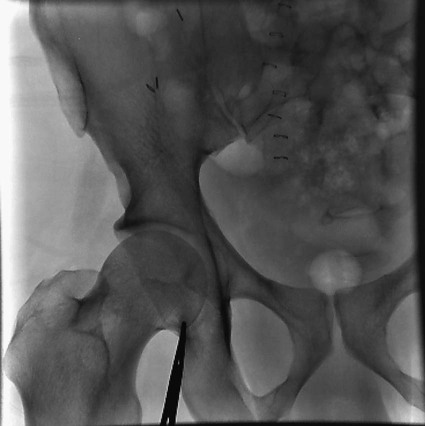
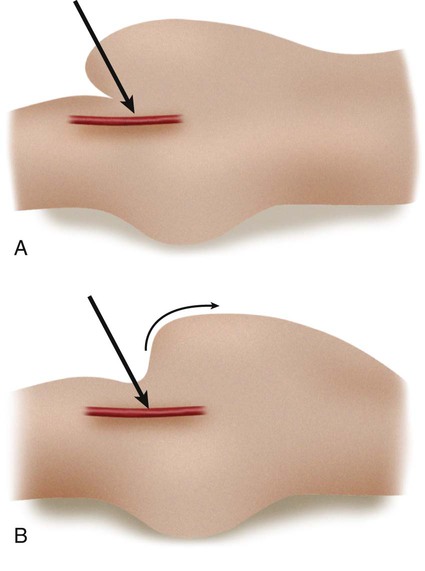
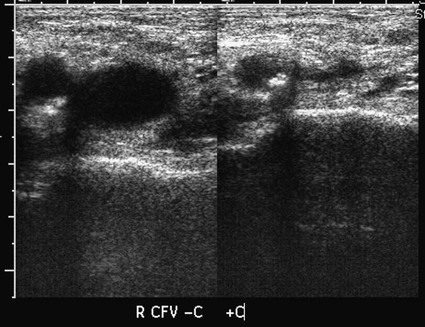
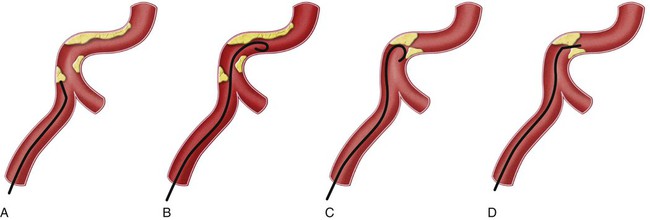
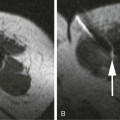
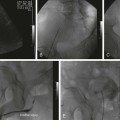
Before any arterial access, the operator should assess and document pulses distal to the puncture site. The technique for percutaneous arterial access was first described by Seldinger in 1953.1 In short, the arterial pulse was palpated, local anesthesia was applied, and a needle with stylet was advanced into the artery. After removal of the stylet, a wire was advanced into the artery, and the needle was withdrawn. A catheter was then placed into the artery over the wire. Because of its relative size and superficial location, the common femoral artery is the most frequent access point for arterial interventions. The point of maximal impulse is palpated, and a radiopaque marker (e.g., clamp) is placed at the site. Care is taken to enter the artery over the inferior and medial quadrant of the femoral head (Figs. 27-1 and 27-2). This location allows adequate compression of the artery between bone and the operator’s fingers. In addition, entry at this site is generally below the inguinal ligament,2 which ensures that the external iliac is not punctured, allows manual control of the puncture site, and prevents retroperitoneal bleeding. It should be noted that the operator cannot rely on the inguinal fold because the location of the skin “crease” is variable and frequently inferior to the femoral head in obese patients. Care should be taken to retract or displace an overlying pannus before groin puncture to reduce the depth of the artery from the skin (Fig. 27-3). On occasion, the arterial pulse cannot be palpated. In these instances, the artery may be punctured under fluoroscopic control alone (if the artery is calcified) or with ultrasound guidance3 (Fig. 27-4). Selection of a straight, angled, or J-tipped wire is largely operator dependent but should be adjusted to the clinical situation. If, for instance, atherosclerotic plaque is present at the origin of the right external iliac artery (Fig. 27-5, A), there is a short excursion from a right common femoral access to the point of stenosis. Thus, the risk of intimal dissection or disruption of the plaque with distal embolization is increased when an angled-tip wire is used as opposed to a J-wire (Fig. 27-5, B). In Figure 27-5, C there is stenosis at the right common iliac artery—slightly farther from the point of access than the previous example. The degree of stenosis in this example is unfavorable for passage of a J-wire, but there is room for passage of an angled glide or floppy-tipped straight wire (Fig. 27-5, D).
Principles of Arterial Access
Technique
![]()
Stay updated, free articles. Join our Telegram channel

Full access? Get Clinical Tree


Radiology Key
Fastest Radiology Insight Engine

