Essure Tubular Microinserts
The Essure microinsert (Conceptus Inc, San Carlos, CA) is a relatively new method for achieving permanent contraception in women. This technique is rapidly gaining favor with patients and clinicians alike for its safety, efficacy, and minimally invasive method of placement.
Background
Essure microinserts are a permanent sterilization technique in which specialized coils are inserted into the fallopian tubes from a transcervical approach using hysteroscopy. This method of birth control has been shown to be 99.8% effective after 5 years of follow-up evaluation. The coils can be placed in an outpatient setting typically using conscious sedation. This is in contrast to tubal ligation procedures that require general sedation, short-term hospitalization, and a longer recovery time.
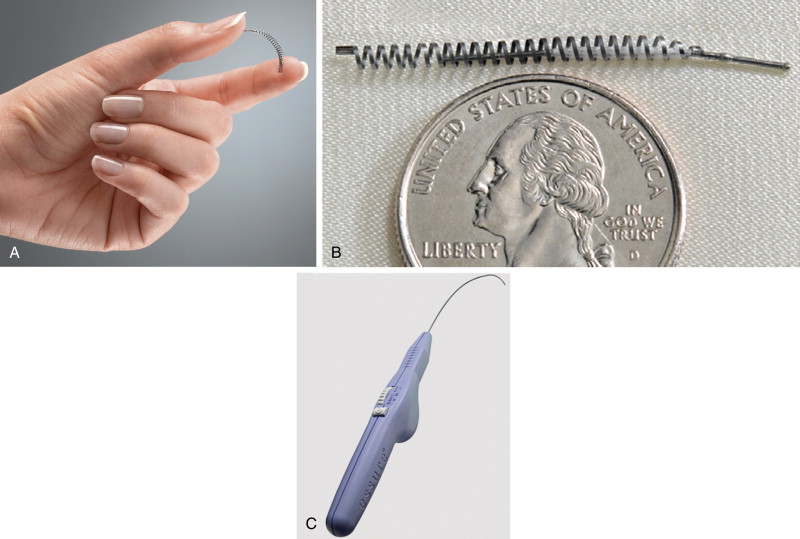
Each microinsert is composed of a stainless steel inner coil that is enveloped by white polyethylene terephthalate (PET) fibers ( Figure 20-1 ). Surrounding the inner coil is a superelastic outer coil (26 turns in all) made from nickel–titanium alloy (nitinol). This metal has thermal memory and will expand to its manufactured intrinsic size and configuration when deployed. The coil diameter measures 0.8 mm before delivery. When the device expands after placement it expands to a diameter of 1.5 to 2 mm and will measure a total of 4 cm in length.
Once the device is in place, the PET fibers initiate a local inflammatory response that results in local tissue growth ( Figure 20-2 ). It is by this mechanism that the tubes will eventually become occluded. Tubal occlusion will occur within approximately 3 months in the majority of women. To confirm that the fallopian tubes have occluded, hysterosalpingography (HSG) is performed after the 3-month period.

Hysterosalpingography with Essure Devices
The purpose of HSG after placement of the Essure microinsert is to first evaluate the position of the coils, and then confirm that the fallopian tubes have occluded. A key feature in the evaluation of the microinserts is to accurately assess the position of the proximal end of the inner coil ( Figure 20-3 ) with respect to the uterine cornua. For the device to function as designed, the microinsert ideally should span the uterotubular junction, but will function as long as there is no more than 50% in the uterine cavity (to avoid expulsion through the vagina), or if the device is completely in the tube but still within 3 cm of the uterine cavity (to avoid dislodgement into the peritoneal cavity).

When performing the HSG there are several general rules to be considered as outlined by the manufacturer. A clear view of the uterine cavity silhouette is, of course, essential. In patients with variant uterine position (such as with significant flexion), it may be necessary to apply gentle downward traction on the tenaculum. This can help to distort the uterus to bring it more into profile. The speculum also should be either pulled back or withdrawn altogether to avoid any obscuration of the uterine anatomy. When administering the contrast, it is important to maintain a tight seal over the cervix to facilitate proper uterine distention. Finally, it is recommended that the fluoroscopic images obtained during the HSG should be in the anteroposterior projection.
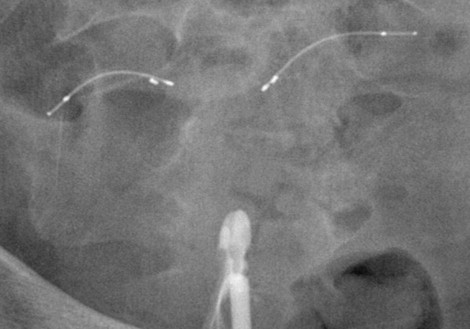
There are six cardinal images that must be obtained to accurately confirm proper microinsert location and tube occlusion ( Figure 20-4 ). The first image is the prefill scout , taken immediately before contrast administration. The contour and position of the microinserts are evaluated with the scout image. If there is any discontinuity in the microinsert or if it appears grossly malpositioned, this should immediately raise the suspicion of device failure.

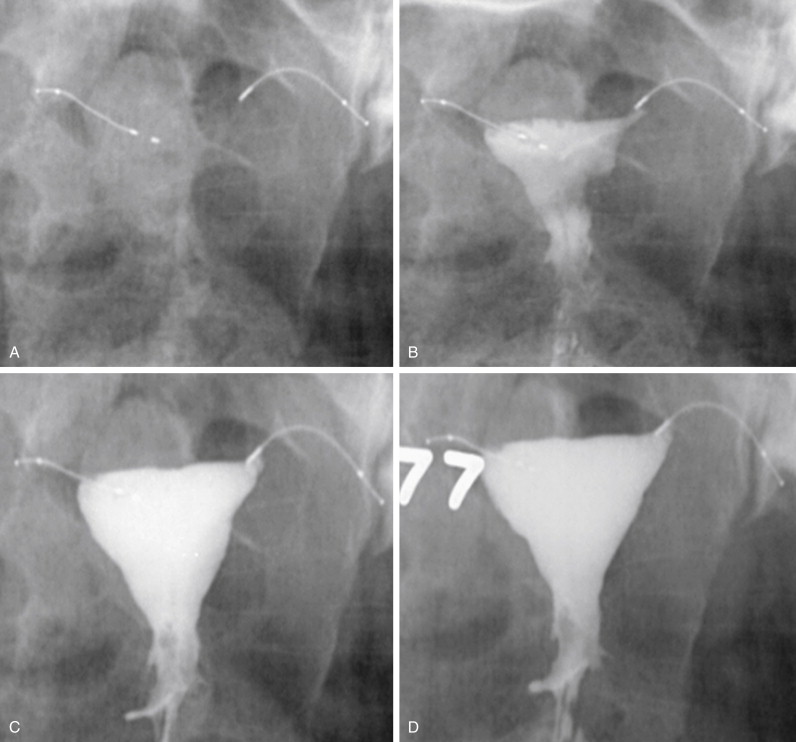
Next is the early filling image. With a small amount of contrast in the uterine cavity, the physician can assess for adequate cervical seal, and adjustments can be made in terms of the beam projection if necessary. As the uterine cavity continues to fill with contrast, a late filling image should be taken. At this stage the uterus is nearly fully distended, but the uterine cornua may still remain unopacified. When the uterine cavity has reached maximum distension, the completely filled image is obtained. With maximal filling, there should be contrast opacification of the bilateral uterine cornua. Ideally the contrast within the cornua will obscure the proximal (uterine) portions of the microinsert. Occasionally it is not possible to completely distend the cornua with contrast. In these instances the uterine cavity should be filled to the maximum level tolerated by the patient.
The final two radiographs are the magnified left and right cornua images. As mentioned previously, these are obtained with maximum uterine distension, with contrast distending the cornua and either meeting or obscuring the proximal ends of the microinserts. These images are essential to evaluating the relationship of the microcoil to the uterine tubal junction, and ensuring that contrast is not passing beyond the device.
If any of the aforementioned images cannot be obtained or are significantly suboptimal, the HSG should be repeated. When the study is completed successfully, a careful analysis of the images is performed to evaluate for potential complications.
Complications
Multiple studies have demonstrated high success rates in terms of device placement and subsequent tubal occlusion. In the small percentage of patients in whom microinsert implantation is not achieved in one or both fallopian tubes, the failure is almost always attributed to factors such as tubal spasm, ostial obstruction, or anatomic variants. Fortunately complications related to device placement are also uncommon, but an understanding of these potential scenarios is important.
One possible mechanism of device failure occurs when there is proper positioning of the microinserts but the fallopian tube remains patent ( Figures 20-5 and 20-6 ). In these instances the patient is brought back after 3 months to allow more time for the PET fibers to exert their inflammatory effect on the tube epithelium. According to the manufacturer, bilateral tubal occlusion with properly positioned devices is seen in 96.5% of patients after 3 months. All the remaining subjects demonstrated successful occlusion after 6 months.
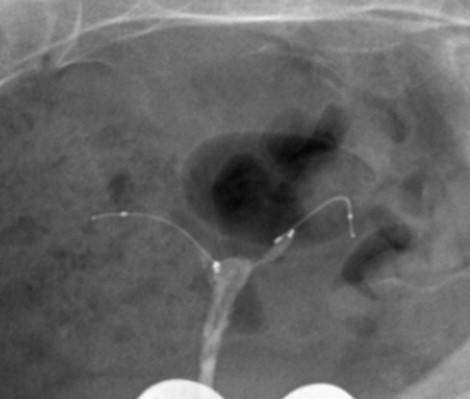
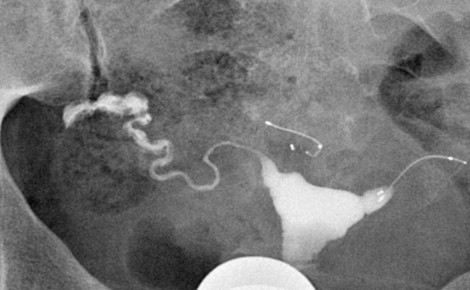
The situation is entirely different, however, in the case of a malpositioned microcoil. A properly positioned microcoil should have the distal end of the inner coil within the fallopian tube, and the proximal end of the inner coil should be less than 50% in the uterine cavity and no more than 3 cm deep into the tube ( Figures 20-4 and 20-7 ). Because the PET fibers surround the inner coil only, ideally the inner coil should span the uterine tubal junction in such a way as to allow for proper tubal occlusion. Any abnormally positioned microcoil must be assumed to be nonfunctional, even when the tube appears occluded during HSG ( Figure 20-8 ).

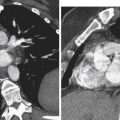
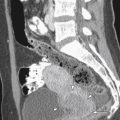
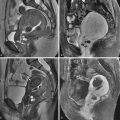
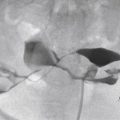
The Essure microcoils have the potential to dislodge from the tube and may travel distally out of the tube and into the peritoneal space ( Figure 20-9 ). Alternatively the device may be expelled into the uterine cavity where it may remain or be passed through the vaginal canal ( Figure 20-10 , A ). This has been shown to occur in 2.2% of patients. These cases are easily detected with HSG, and the patient may then opt to have a new device placed.


Microcoil fracture is another known complication that must be considered ( Figure 20-11 ). Device fracture is often noted in conjunction with migration and expulsion; however, fractures do occur in microinserts that otherwise appear to be properly positioned. The contour of each device must be carefully scrutinized on the HSG images to avoid missing a subtle fracture that may predispose the patient to unwanted pregnancy. The microcoil should be one continuous metallic density, and the markers at the proximal and distal ends of the inner and outer coils should all be accounted for.

